While reading through this exercise I immediately envisaged where the major pitfalls would have occurred formerly for me when starting a project like this long one. In the past I would have taken all the photos over the extended period for the project and then processed almost all of the photos that I had loosely edited at the end or at least in a haphazard fashion . Although I would keep some of the workflow the same, ie the editing out of shots I felt were (very) technically unsound before processing, most of my workflow would be revised.
The one, main feature my new workflow for longer projects (like this) would encompass would definitely be the inclusion of a photo-organiser such as Adobe Photoshop Elements Organiser, which was included with Adobe Photoshop Elements 11. This software had already been quite a revelation for me in the time-limited project and I was sure it would make this project a lot more efficient.
I decided to combine this exercise with the fourth exercise and therefore plan to incorporate further detail into my workflow concerning the editing stage of the process.
So my workflow for the second and fourth exercises for a longer project would be the following:
1. Decide on a theme or topic, which lasted for a sufficient amount of time and with which I could adapt my workflow to - my initial thoughts were street photography in the city of London. The aim of the project would be capturing a wide range of people along one major street in London.
2. Make a loose plan of how long the project would last, including how many photographs I intended to capture and how frequently I would be taking these shots.
3. Make sure the camera's battery(s) were charged before each shooting session and, more importantly than with the first exercise, that there was sufficient space on the memory card(s) for the planned amount of photos to be taken (in raw + jpeg). Also research the weather for possible days I might be doing the street photography as I would be more comfortable with strong lighting.
3. Start the street photography but for the first session be very aware of any mistakes being made and possible improvements to the photography/workflow, which could be written down in a notepad (stored with a pen inside the camera bag).
4. After the first session make notes back at home about the photography for future sessions. Label any obvious photos with major technical errors as I look at the images for the first time on the organiser.
5. Then start editing the photos I have taken the same day to make the 'selects'. This is in stark contrast to what I would have done as mentioned above (editing and processing all at the end or in an unorganised way). This would also be very loose editing, based upon aesthetic quality.
6. When the selects had been made I would go through these files and decide upon several I really was pleased with. However, I would use different tags/labels to those I didn't like (so I could come back to them if I changed my mind). The main portion of this would be through the organising software I had found so useful with the previous exercise (ie tagging or labelling). The remaining files I was keen on would be the 'first selects', while those I didn't care for would be 'seconds'.
7. After completing steps 4, 5 and 6 I would try to repeat this process for each session for the duration of the project and leave the more clinical editing until I was pleased with the number and quality of photographs.
8. Then after some time I would come back to the first selects and make a final selection compared to the 'seconds'. It would probably help to leave a gap between this and the previous stage so I could look at the images more objectively. This would occur after I had taken what I felt were enough 'quality' shots for the project.
9. I would process the final selects inside of Photoshop Elements' editor. Processing would consist of only a few changes like cropping, saturation and exposure of the raw files as I saw fit.
10. Finally I would back up all the files to the external hard drive and then upload the final, processed images onto this blog. From these I would select two of these images that I deemed the 'strongest'.
Monday 14 January 2013
Thursday 10 January 2013
Processed photos for the first exercise/devised workflow
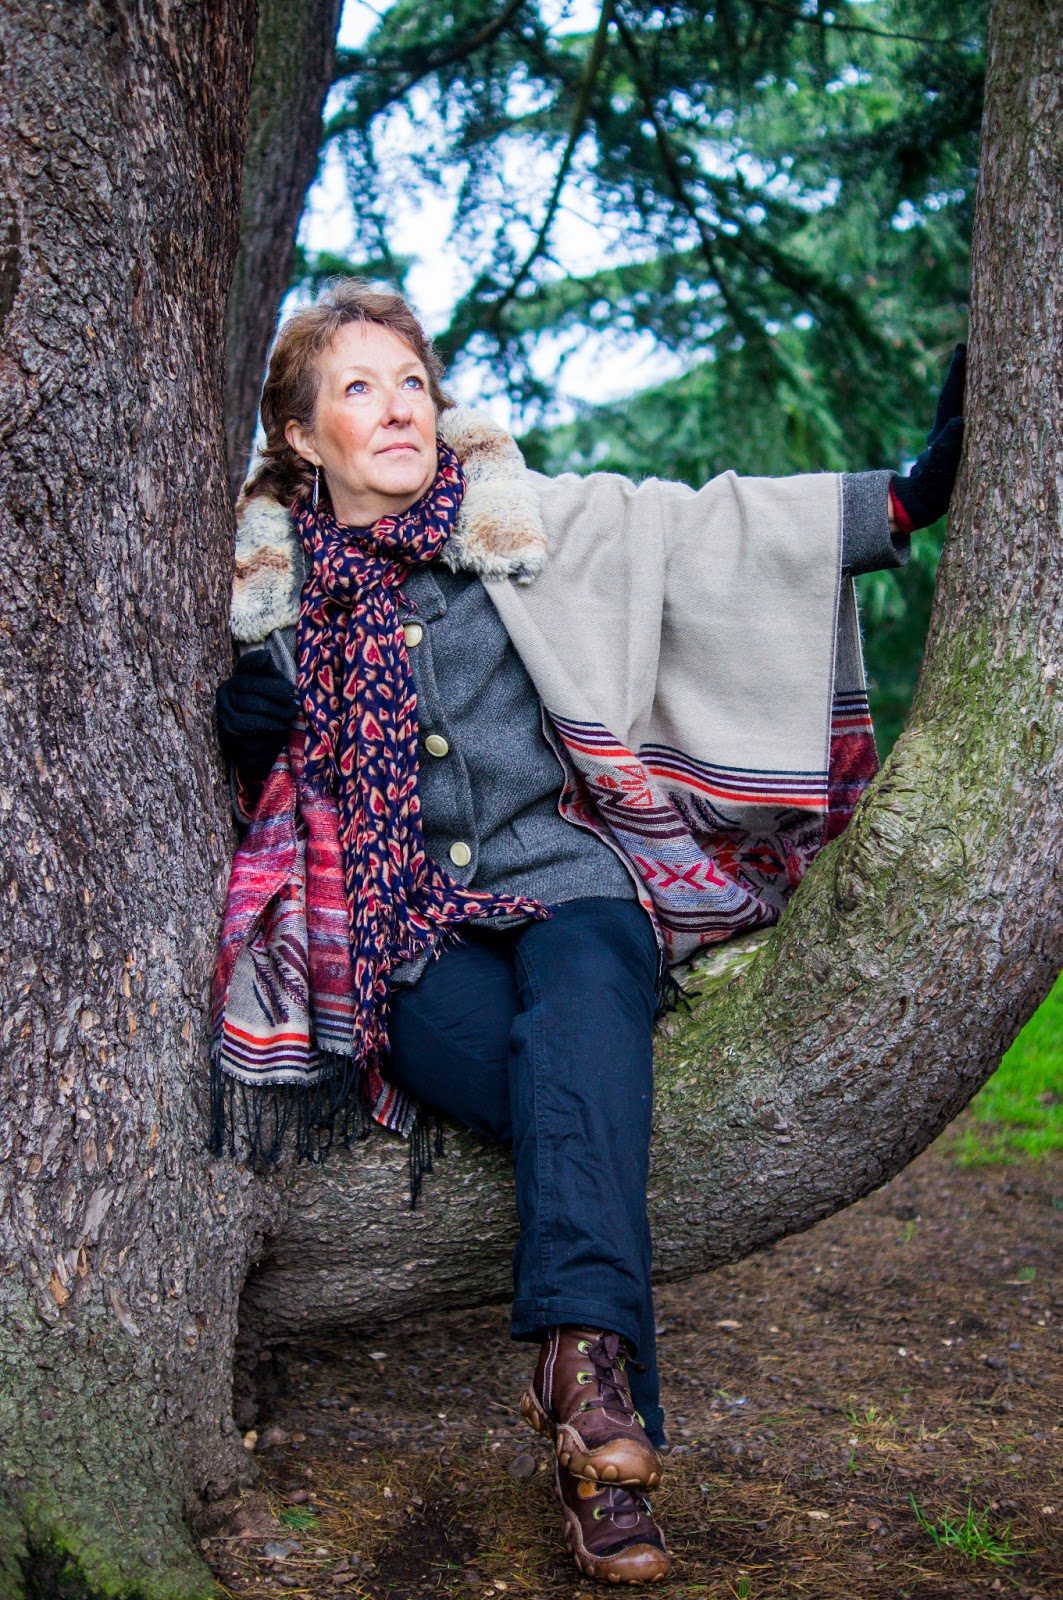 |
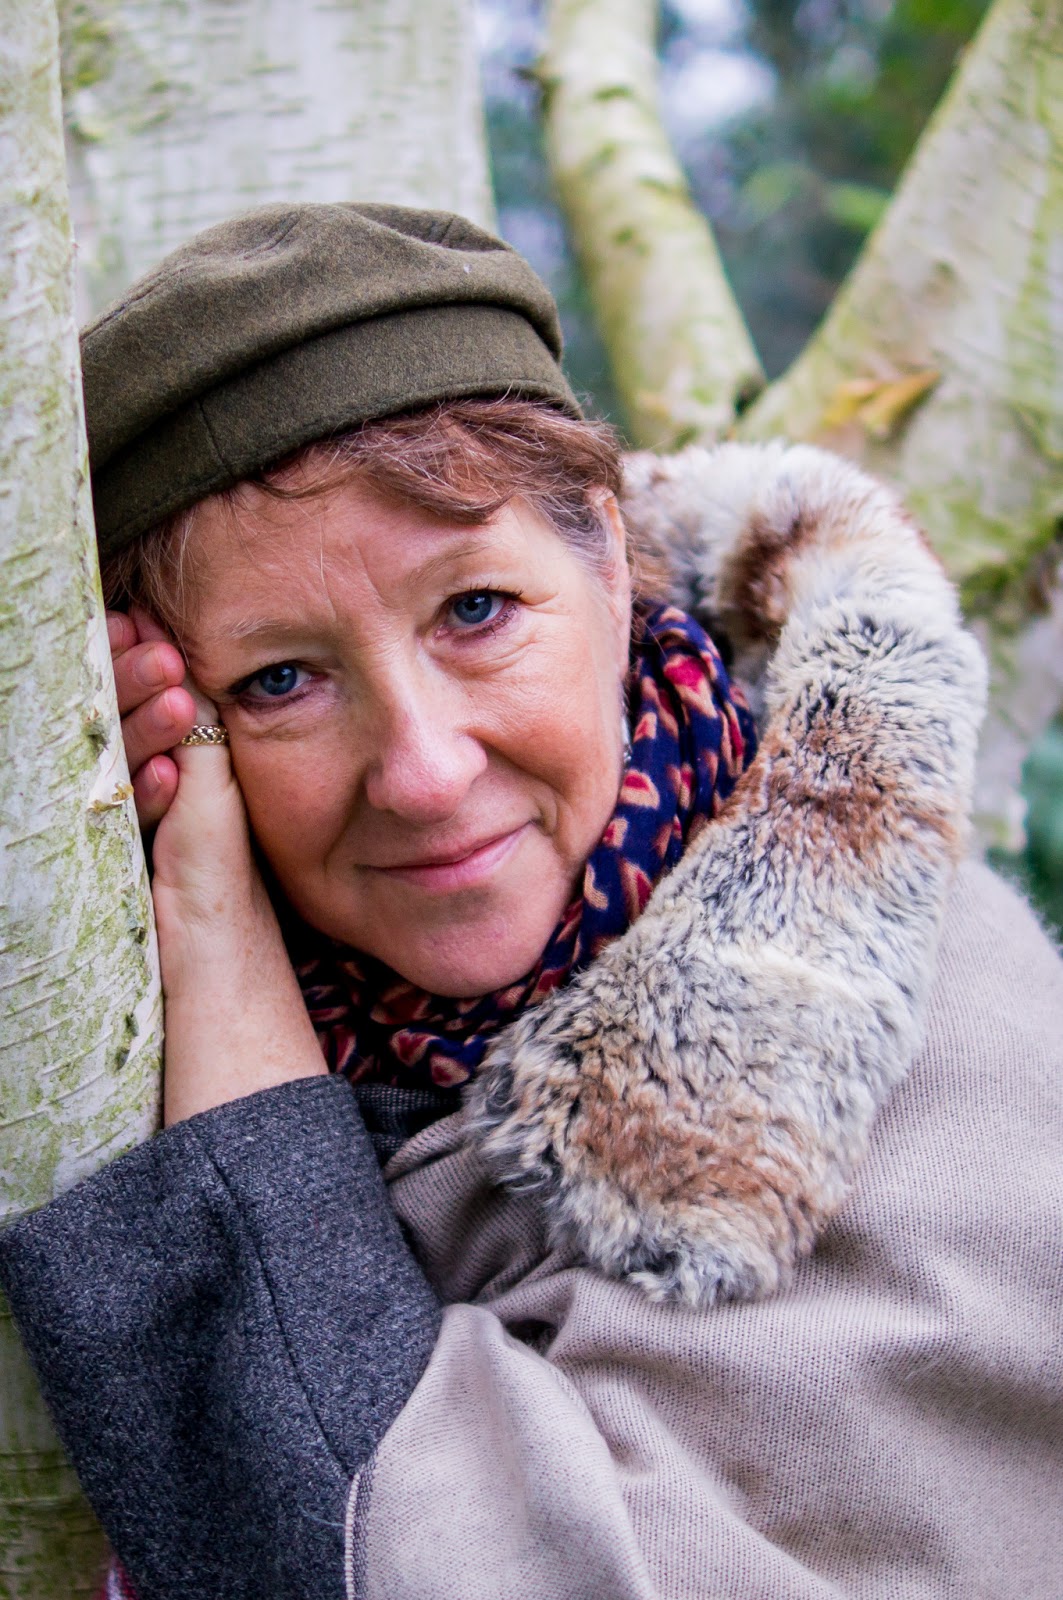
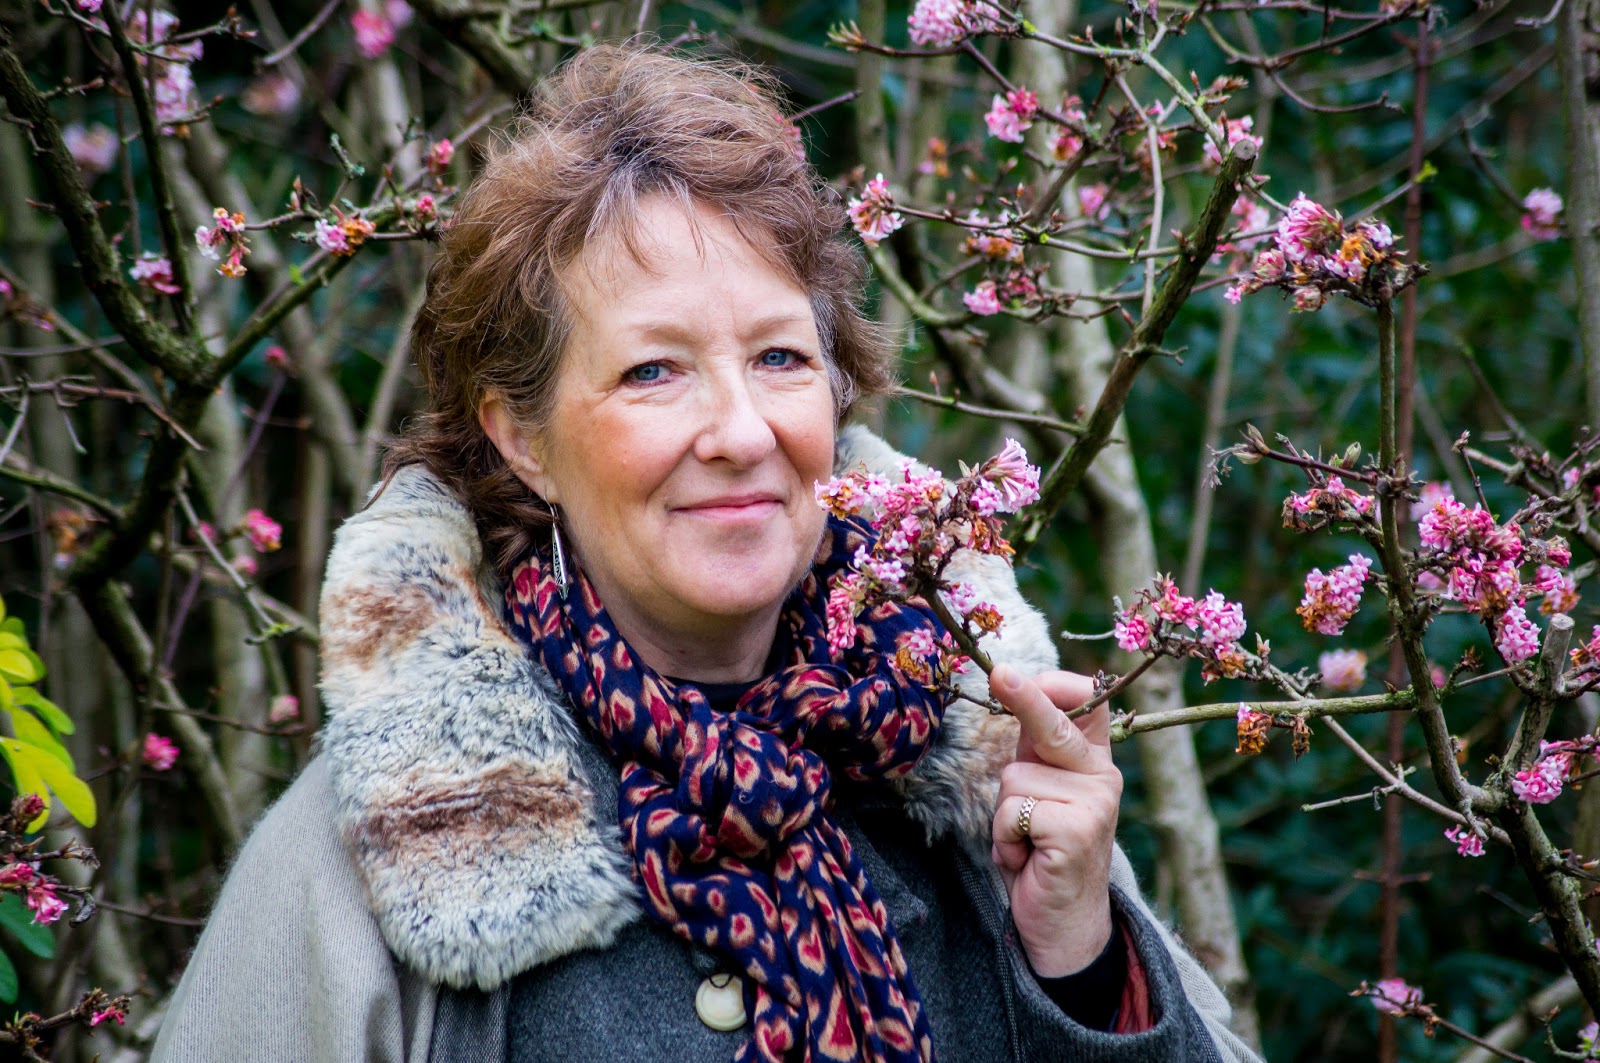
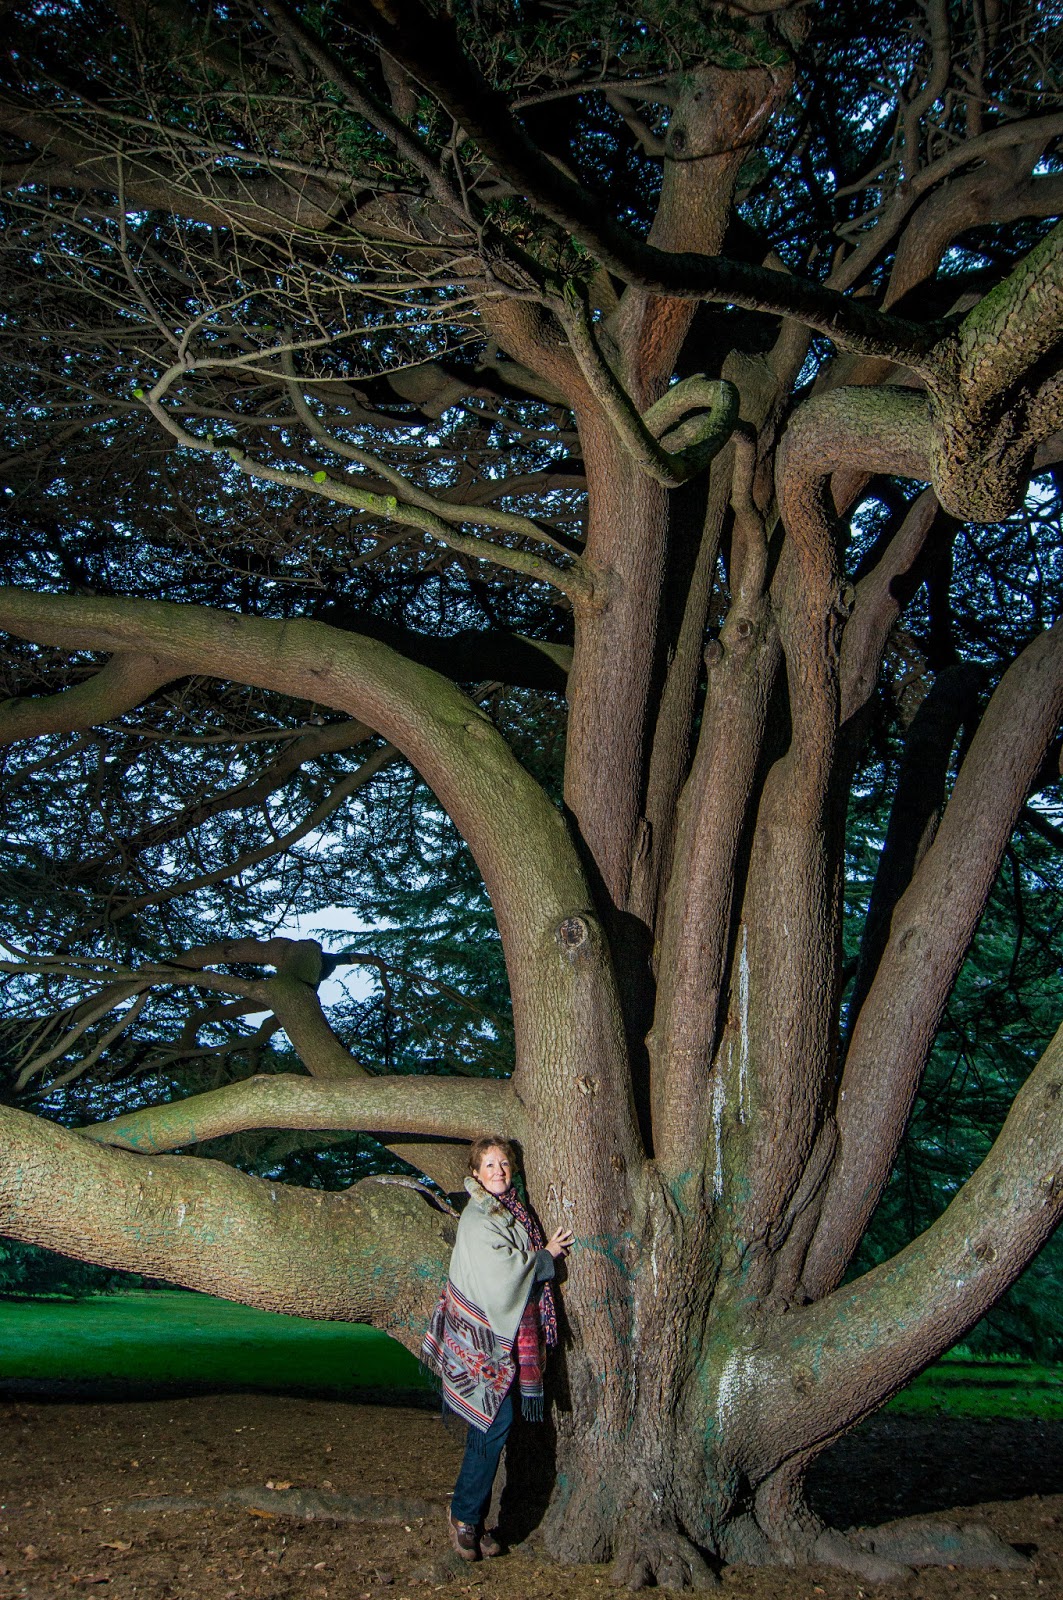
| 1. The first finaly selected image' image |
As I started to review the photos I had captured during the portrait session on the computer it soon became clear it was necessary for me to further alter the workflow slightly. This was because I felt there were quite a few 'strong' useable images or as I labelled them in my altered workflow: 'maybes'.
 |
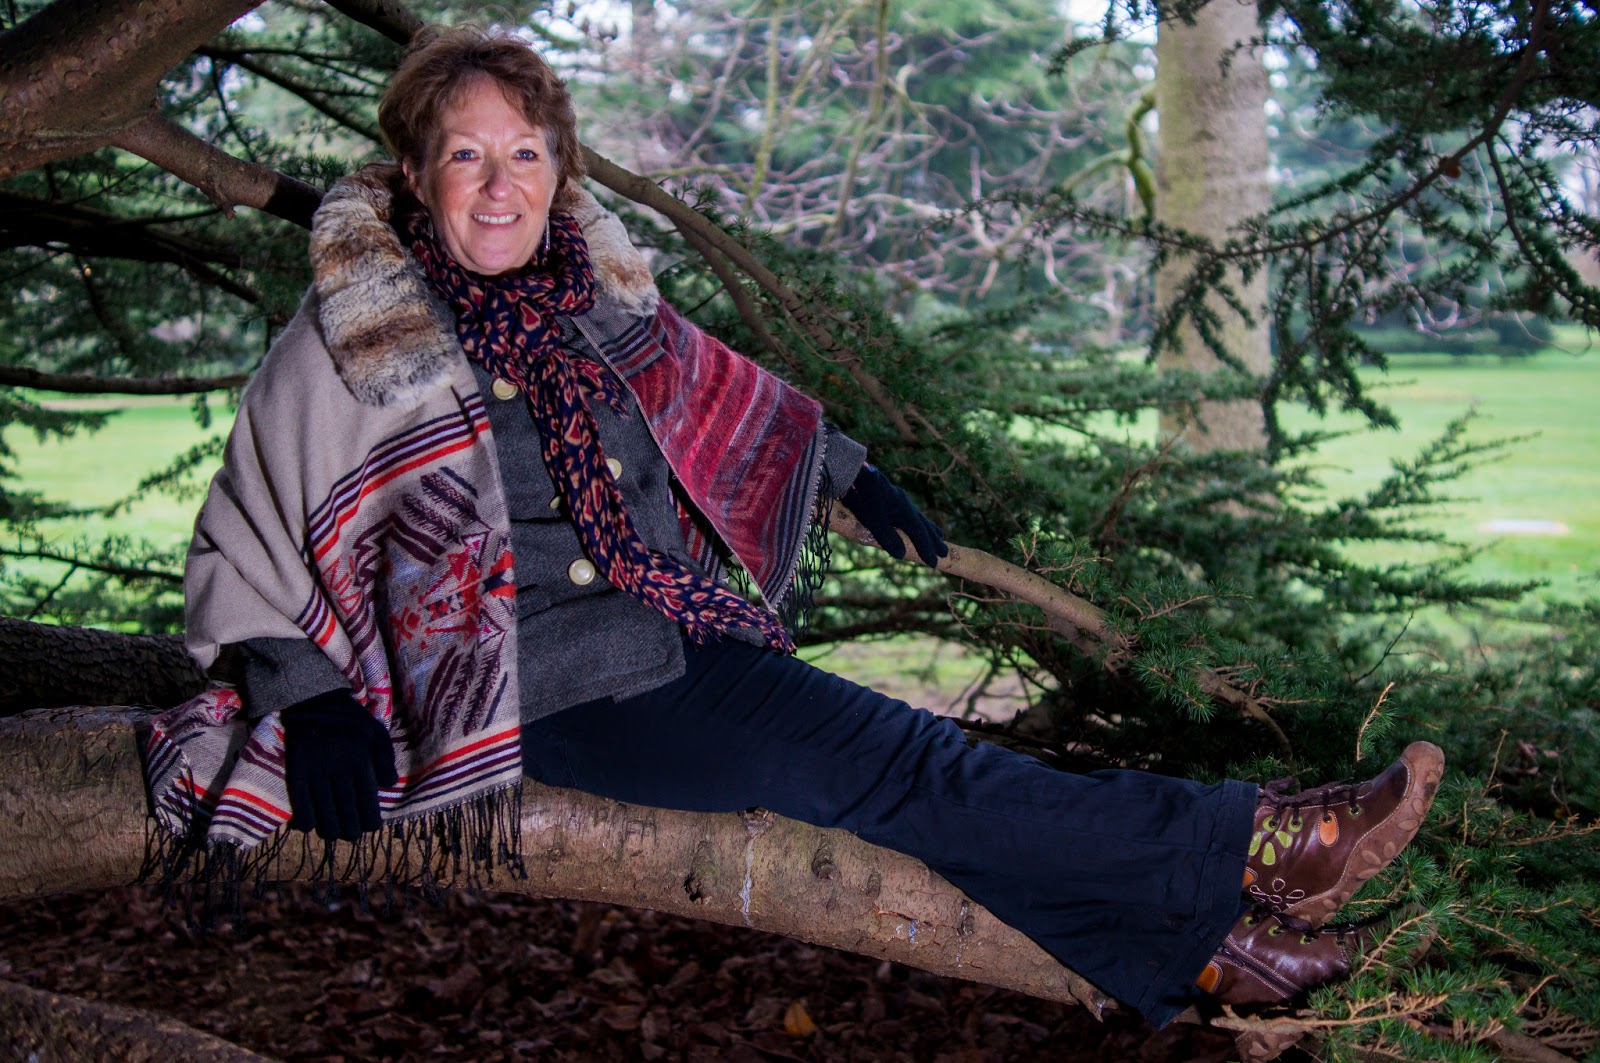
| 2. The second finally selected image |
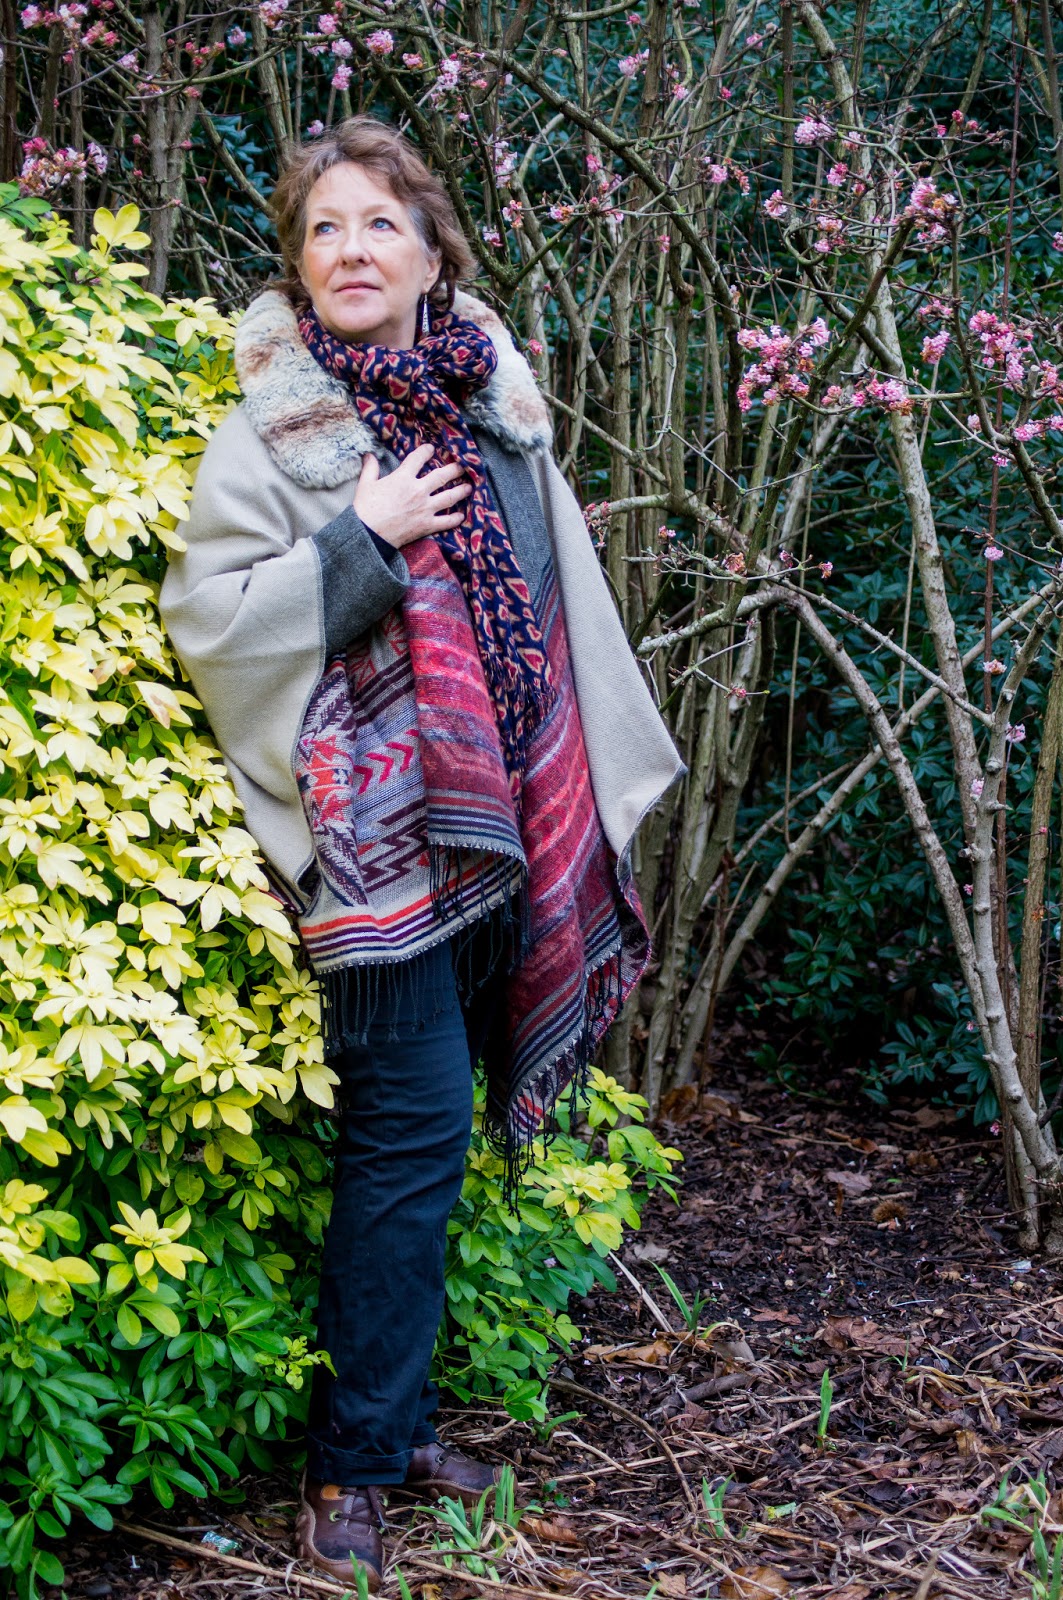 |
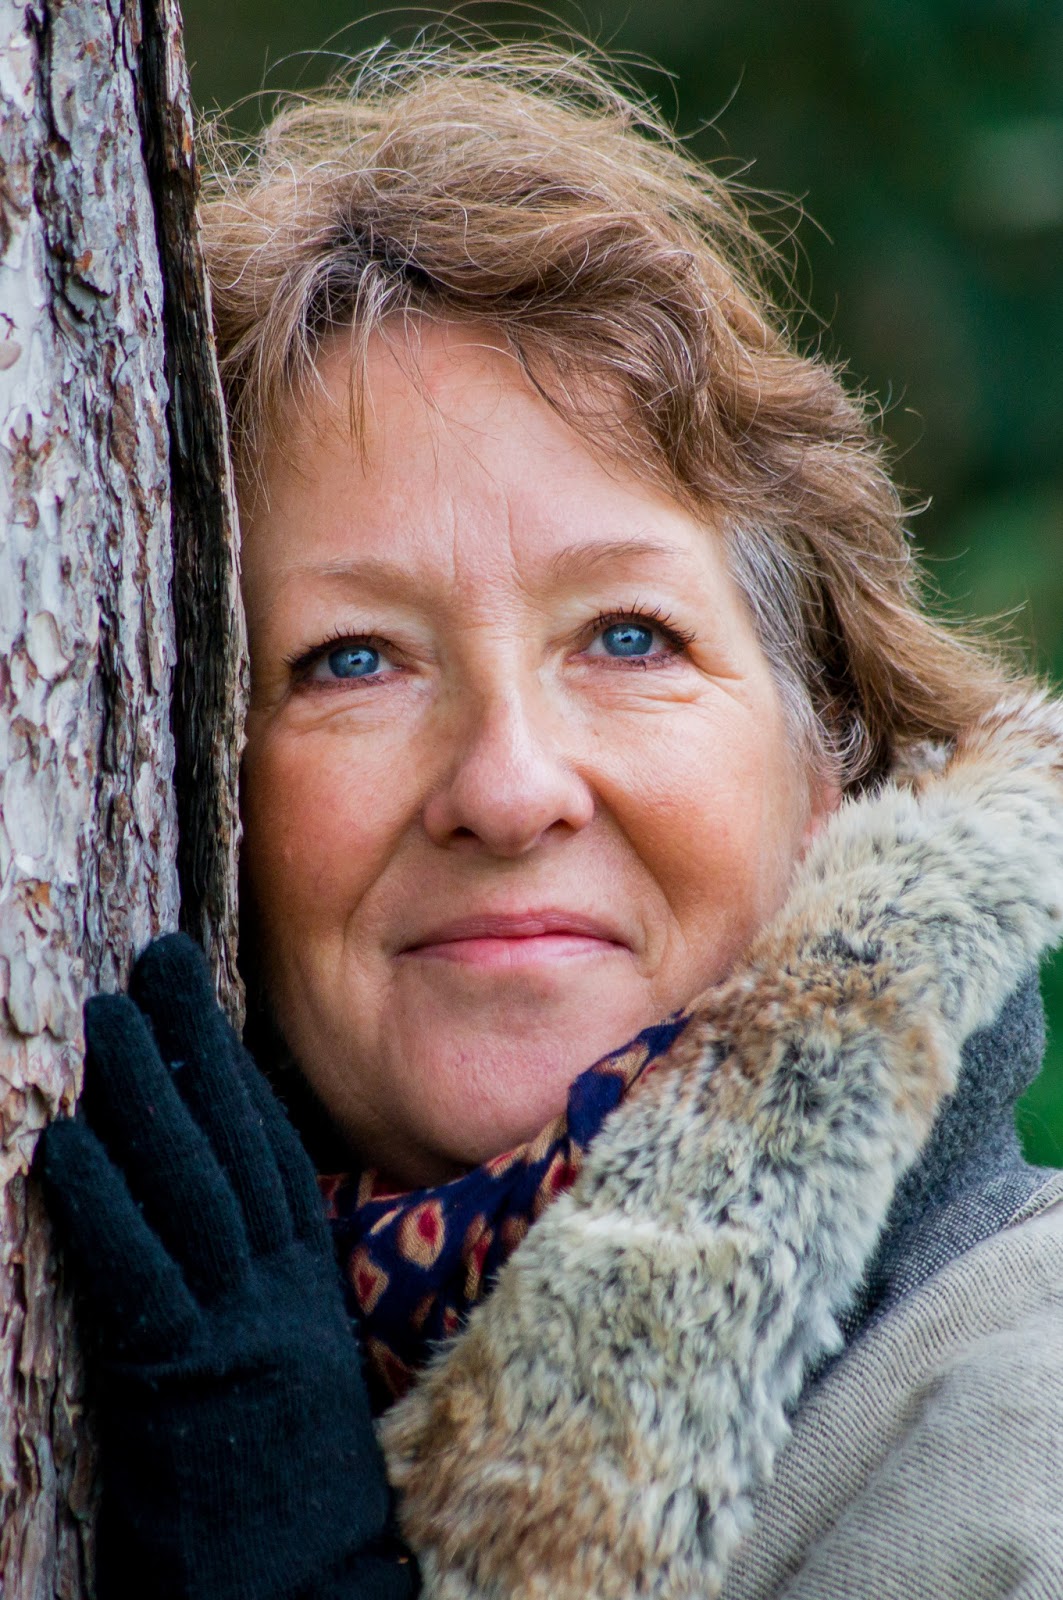
| 3. The 1st 'maybe' |
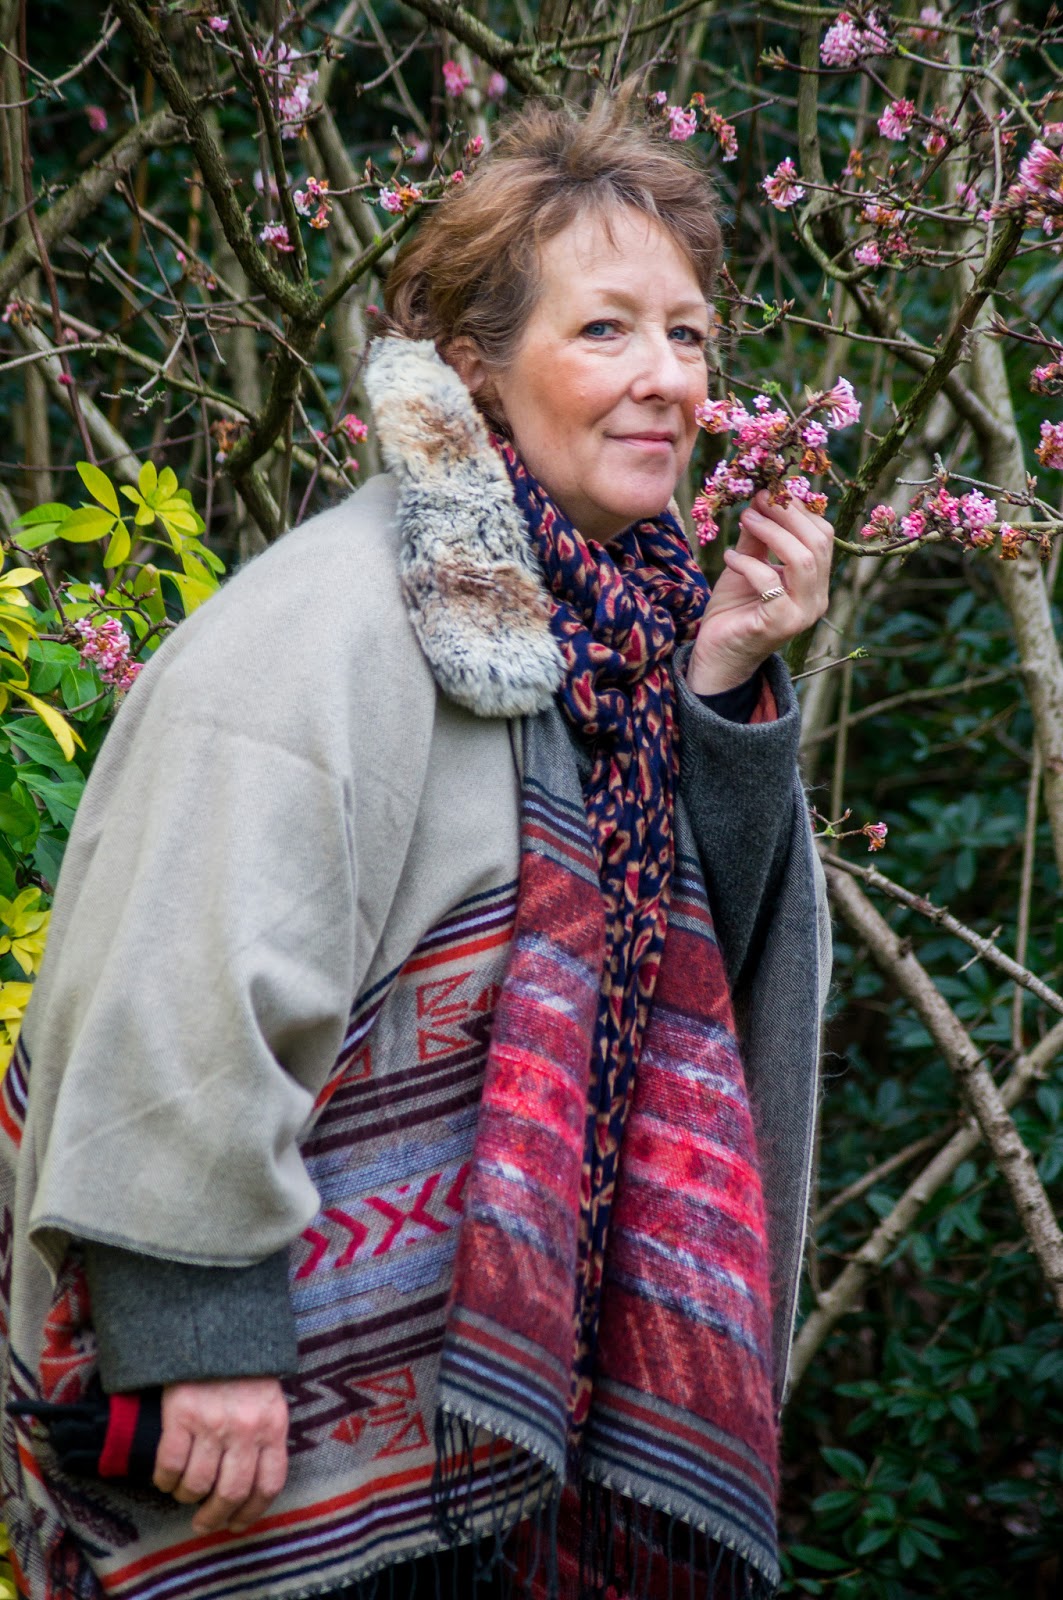 |
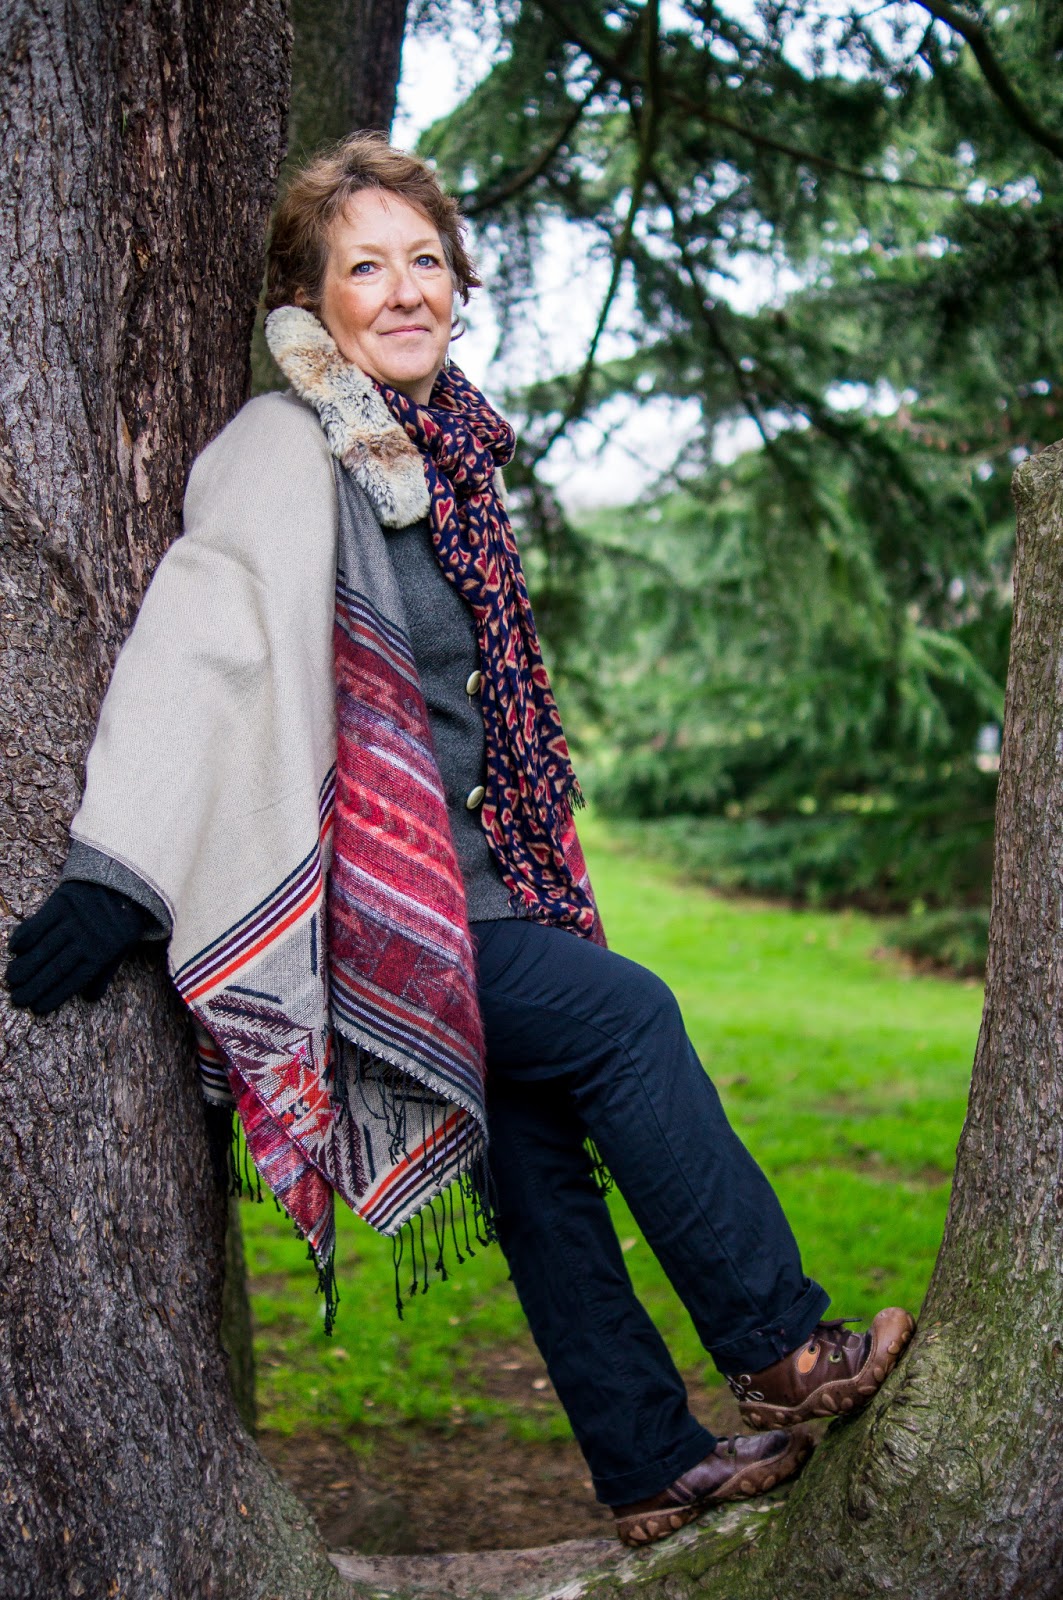
| 4. The 2nd 'maybe' |
 |
| 5. The 3rd 'maybe' |
 |
| 6. The 4th 'maybe' |
 |
| 7. The 5th 'maybe' |
 | |||
| 8. The 6th 'maybe' |
 |
| 9. The 7th 'maybe |
 |
| 10. The 8th 'maybe' |
Friday 4 January 2013
My own, devised workflow for the first exercise (a time-limited portrait session)
Since starting to take photography more seriously I have developed a quite basic workflow as described in the previous post. As mentioned this was formed of mainly trial and error with a crude method of organising and editing and processing, consisting of copying and pasting selected files into folders. Just by flicking through the course I could see how my work flow was quite flawed, even at the picture-taking stage (I have used raw or jpeg solely at time but never both together). Therefore constructing a new, more efficient workflow was very desirable and intriguing for me.
So my new, make-shift workflow - as I was sure it would improve as I progressed in DPP was the following for the first exercise:
1. Scout out a suitable location and ask a person for a portrait session.
2. Discuss/decide on a few basic poses which the model is comfortable with - for example head and shoulders and a full-length pose.
3. Make sure batteries are charged and there is adequate space free on memory card(s) as I would be taking quite a few photos.
4. Change the picture quality setting of the camera to raw + jpeg before the shoot.
5. Shoot the portrait as described in the course and to the best of my ability so as to make the editing and processing easier and quicker.
6. I had a few notions of how I wanted my model to pose beforehand but I decided to leave most of the more minute details of each pose to spontaneity. My reasoning behind this was that in the past I have found this works best as I can easily direct my subject around efficiently.
7. Transfer the photos I have taken onto the computer via memory card reader, saving them into a new folder in the 'Pictures' folder. As a side note I have found it best to use a memory card reader rather than via the camera itself as it conserves camera battery levels.
8. Now, here is where it would get interesting and different for me. I usually would open up each file within the folder directly but I felt encouraged to try an organising program to edit out and whittle down my 'best' shots. I decided, rather by default admittedly, to use the organiser that came part and parcel with Adobe Photoshop Elements 11 - Adobe Organiser. Instead of editing the photos I thought looked best in preview format and process all of those I felt were potentially strong images in Elements 11's editor, I would try to use Adobe's editor and organiser in unison. I planned to use the feature of 'tags' within the organiser I knew existed to aid in selecting the 'maybes'.
9. Then I would open these files into the editor and process them.
10. After that I would make my selection of the final two images.
11. I would then save all the images to an external hard drive but they would be clearly labelled as 'nos', 'maybes' and the final couple.
12. Finally I would upload the final images to my blog.
Thursday 3 January 2013
Initial thoughts on Digital Photographic Practice
My first thought as I flicked through the course as suggested, was that this module was right up my street, as in it seemingly was fitting for where I was in my photography. I had been becoming more and more interested in the process of taking a photograph and then editing it afterwards anyway. I also felt the selective and workflow processes were the somewhat weaker sides to my photography. Combining these two aspects together meant this part of the course made perfect sense for my development in photography; in my eyes at least.
More specifically I had been experimenting with noise reduction and selective sharpening both personally and for the course and these were consequently the areas I was looking forward to most. Then there was the selection processes for each batch of photographs produced. Although this didn't particularly excite me, I had inadvertently developed my own, rather clumsy and painstaking methods for processing images (mainly through trial and error). Therefore making this 'work flow' more efficient sounded desirable.
Also, I was looking forward to creating more refined images as a product of better post-processing, editing and of course the actual shooting. Being able to do this consistently as well sounded important to me and I had an inkling this could potentially be a direct cause of work flow in future projects. I felt it was a case where lots of small details could make a big difference, such as organising a library of photos well in a structured manner, little tricks in processing and getting a shot 'right' more often than not at the click of the shutter (then later improving/enhancing it).
A the time of writing my workflow was primitive if you were to go by how detailed the examples in the course were. I thought it would be interesting to see how my workflow developed so I have posted the fairly haphazard workflow I have been using up until now here with a few variable scenarios for different shooting types:
1. Make a basic plan written down for how I will approach the project at hand and put it in the camera bag.
2. Check all equipment is in the bag and that batteries are charged/ memory cards have enough capacity for the session.
3. Go to the location and either shoot spontaneously, making adjustments to the angles/lighting as I went along in street photography shooting or go to the location and refer back to the notes I had made beforehand intermittently between shooting in a portrait session while still making adjustments to angles/lighting.
4. Review some of the shots as I shoot, making adjustments where I saw fit - refers to both portraits and street photography.
5. Download the photos via memory card reader to the computer.
6. Preview all of the images, then slowly copy the photographs I felt were potentially strong into a new folder.
7. Process all of the photos I had put into the new folder and save them into a folder within this folder.
8. Upload the photos to my blog if they were for the course.
9. Back the photos up onto an external hard drive.
After writing this I could already see quite a few areas for improvement in my workflow and was sure some of these improvements were simple to implement.
Subscribe to:
Posts (Atom)